Contents
The filing portal sends a rejection email. A clerk can fix the missing attachment, but the deadline is close. The team now needs to know what failed, what the court received, and who will check the next attempt.
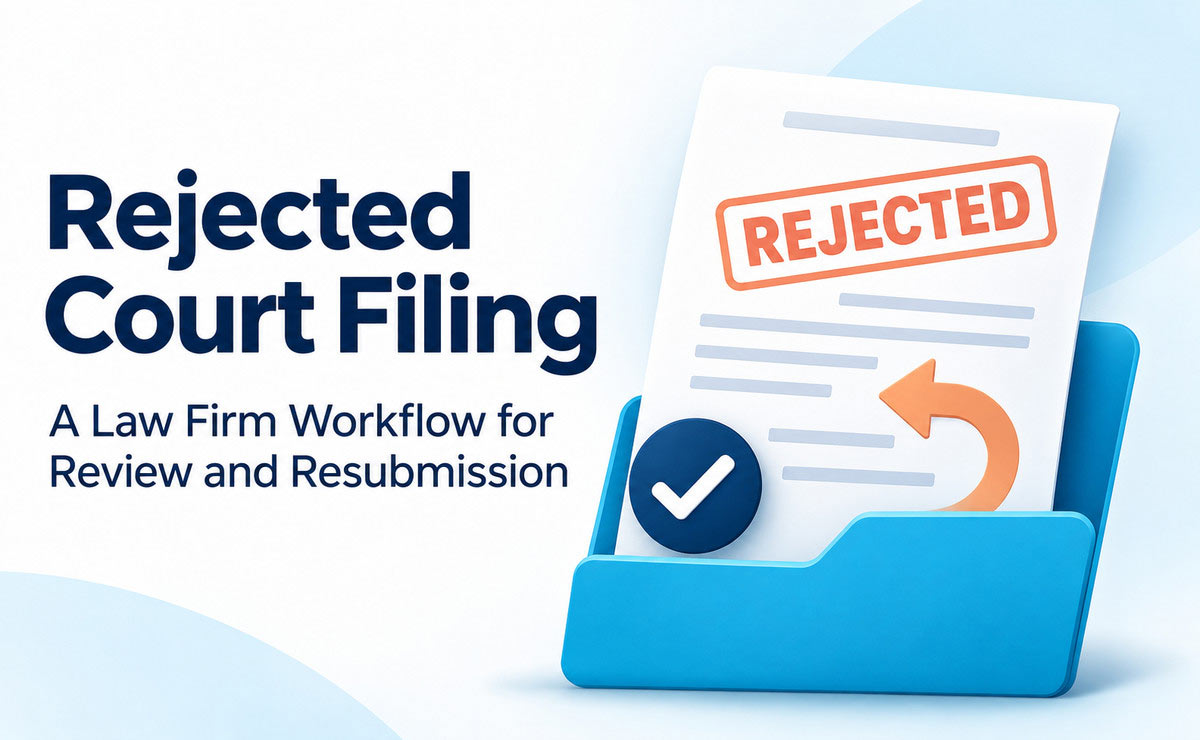
A rejected court filing calls for a prompt check of the notice and the deadline. Save the original package, alert the lawyer handling the matter, address each stated issue, and use the correct route to submit again. Then confirm the result.
This guide offers a working process for small and midsize law firms in Canada and the United States. The steps are suggested firm practices. Court rules, local directions, orders, and the actual notice govern what to do in a specific matter.
Understand what the filing status means
Start with the court’s exact message. An upload receipt, a rejection notice, and an order striking a filed document describe different events. Each can call for a different response.
Separate receipt from acceptance
A receipt may show that a portal received a package without proving that the court filed it. For example, Ontario’s civil filing guide distinguishes submission from acceptance in the Ontario Courts Public Portal. Its rejection process states that rejected documents have not been filed or issued.
California Rule 2.259 also distinguishes receipt and filing confirmations. The rule places responsibility on the filer to verify receipt and filing. These examples show why a successful upload alone is a poor basis for closing a task.
Check whether anything was already filed
A rejected court filing may concern one document or a wider package. Read the item-level results where available. Do not assume that the status of one attachment establishes the status of every document sent with it.
Track a rejected court filing with clear status labels. The terms below are suggested internal labels. They are not a universal court status system. Keep the court’s own wording beside the firm’s label.
| Internal status | Evidence to check before the next step |
|---|---|
| Submitted and awaiting review | Submission record and the court’s stated review process |
| Rejected | Rejection notice, affected documents, and reasons given |
| Correction in progress | Assigned owner, lawyer’s instructions, and working files |
| Submitted again | New receipt, exact uploaded files, and reference number |
| Acceptance verified | Court confirmation and the filed documents or docket record |
| Further direction required | Deficiency notice, order, or unresolved question for the lawyer |
If a document is already on the docket, check the process for that situation. The Central District of California’s e-filing FAQs direct filers to read a deficiency notice or striking order and follow its instructions. They do not set one fixed response for every notice.
Review deadline risk before editing
Send the notice to the lawyer handling the matter as soon as it is found. Include the original submission time, the rejection time, the stated reason, and any known filing or hearing date. Keep uncertain facts clearly labelled.

Do not assume the first attempt preserves the date
For a rejected court filing, the earlier receipt does not by itself answer whether a deadline was met. Ask the lawyer to check the governing rule, court order, permitted filing route, cutoff, and time zone. Review any special process for urgent work.
Canada’s Federal Court of Appeal guide states that an accepted resubmission is deemed filed on the resubmission date. It also explains that missing a deadline may require an extension request and that an extension is not guaranteed. This is a court-specific example, not a rule for every Canadian court.
Give staff a clear escalation route
Name a backup lawyer and a way to reach them when the usual reviewer is away. A support ticket should not be the only response to a time-sensitive issue. Staff needs a route for a decision while technical questions are being checked.
Use the firm’s legal deadline verification process to record the reviewed date and its source. Set a separate internal target for the correction. Changing a task’s due date should never quietly replace the legal deadline.
Follow a rejected court filing workflow
Keep the response in the matter file, with one owner coordinating the work. Assign the legal decisions, document fixes, submission, and acceptance check to named people. In a solo practice, use separate checks for these steps even when one person performs them all.
Step 1: Preserve the rejected court filing record
Save the full notice and the exact documents sent. Keep the receipt, reference number, payment record, portal messages, and any related docket entry. Note which time zone each system displays.
Keep the first package as received or submitted. Make a working copy for corrections so another person can see what changed. If the message lists several rejected items, connect each item to its original file.
Do not rely on a cropped screenshot that omits the reason or reference number. Keep enough context to trace the court’s message to the submission. Store records through the firm’s approved document process.
Step 2: Turn each stated reason into a task
Read the whole notice before changing the documents. List each issue and the exact item it affects. A note saying only “fix filing” gives the reviewer little basis for checking the result.
For a rejected court filing, use a short record for each issue: what the notice says, who will fix it, what source guides the fix, and who will review it. Link the source rather than relying on an old office checklist alone.
If the notice is unclear, use the court’s published contact route to ask a focused process question. For a provider error, contact the filing provider too. Record the answer and refer legal questions to the lawyer handling the matter.
Step 3: Confirm the required correction route
Check whether the system calls for a revised submission, a new transaction, a complete package, or a specific corrected filing. Confirm how to link the new attempt to the earlier one if the system requires it.
AI-generated legal draft reviewed with a magnifying glass and checkmark before filing or sending.
For example, Alberta King’s Bench guidance for lawyers with FDS access states that a rejected email filing must be sent again with all the documents, including the email request form. That direction applies to the described filing process; it should not be copied into another court’s workflow.
Keep a rejected court filing separate from an accepted document needing a later correction. Ask the lawyer what steps are required before replacing, withdrawing, or correcting something already filed. Do not upload a duplicate merely to make the latest copy appear on the record.
Step 4: Correct the document and portal entries
Match the fix to the stated issue. Review the court and location, case number, party details, document type, attachments, and any payment or fee-waiver selection. Check both the uploaded document and the fields entered in the portal.
A wrong document-type selection may require a portal change even when the PDF itself is correct. A missing exhibit may require a revised document or package. Confirm the proper treatment before adding separate files or combining them.
For the technical review, check the court’s rules for file format, size, searchability, bookmarks, page order, naming, and security settings. Treat this as a list of things to verify, not as universal PDF rules.
Alberta’s electronic-document checklist page warns that omitting its completed checklist can lead to rejection. A rejected court filing review should include any required cover sheet or checklist as well as the main document.
Step 5: Obtain review of the corrected package
Ask the reviewer to compare the revised package with the notice. They should be able to see how each stated reason was addressed. Flag new changes that affect content, parties, requested relief, or other points needing legal judgment.
Check the actual files to be uploaded. Open each final PDF and inspect the pages, attachments, signatures, and legibility. A correction made in the Word source may not be present in an older PDF left in the upload folder.
Use a clear document version-control process to preserve the baseline and the approved replacement. Record who approved which files for the next attempt. Keep an unapproved draft out of the submission folder.
Step 6: Submit through the correct route
Confirm the court, case, filing type, and chosen files in the final preview. Check any required reference to the earlier attempt. Verify who is allowed to submit and which account the firm should use.
For a rejected court filing, save the new receipt and reference number at once. Keep a copy of the package actually uploaded, including any cover form. If the tool offers a summary of the upload, check it against the approved list.
Record the payment outcome without assuming it proves filing. A charge, authorization, refund, and fee-waiver decision are different records. Check the portal’s guidance before attempting another payment or promising a refund to the client.
Step 7: Confirm acceptance and related next steps
Assign the acceptance check before the person submits again. Record when the next status check should happen based on the matter’s urgency and the court’s published process. Confirm a backup will see the result if the filer is away.
When the court responds, match the confirmation to the correct case, document, and attempt. Save the filed or issued copy, endorsement, or docket entry where available. Refer an unclear date or status to the lawyer rather than filling the gap with an assumption.
A rejected court filing can also affect related work. Ask the lawyer whether service, notice, a hearing upload, or client communication needs attention. Track these as separate tasks with their own proof of completion.
Handle local rules and technical failures carefully
Keep a short filing profile for each court and case type the firm uses. Link the current rules, local directions, filing guide, help contacts, and any case order. Record when the profile was last reviewed.
Check the region as well as the court name
Ontario’s civil filing guide distinguishes the Toronto portal from the routes used elsewhere in the province. When a court filing is rejected, start by checking the route for the region and type of case. Do not carry a portal instruction across the province without checking it.
Save the guidance used for the decision or record its URL and review date. A reusable office checklist needs a court and case-type label. Someone should review it when the portal or directions change.
Distinguish an outage from a document defect
Save any error message, the time of the attempt, the support reference, and the official outage notice. Record whether the problem occurred in the firm’s network, the provider’s system, or the court’s system when you can confirm the cause.
California Rule 2.259(c) addresses a specific court-system technical failure and excludes complaints and other initial pleadings from that provision. It is not a general cure for a rejected court filing caused by a document defect. Have the lawyer assess the rule and the evidence before relying on any relief.

Avoid changing clocks, editing receipts, or relabeling a new submission as the earlier attempt. Keep a record of what happened and when. A clear record helps the lawyer check the steps available without overstating what the evidence proves.
Work through a realistic rejection example
In this fictional example, a clerk submits an application and supporting affidavit. The portal later reports a missing attachment and a mismatch between the selected document type and the uploaded file. A response date is approaching.
Assign the review before editing the files
The clerk saves the rejected court filing notice and first package, then sends the lawyer a summary. The lawyer checks deadline risk and the required route for the correction. The clerk creates a separate task for each issue.
The clerk adds the approved attachment and checks the portal selection. A reviewer opens the final files and matches them to both reasons in the notice. The approved replacement stays separate from the first package.
Keep follow-up active after sending
The clerk submits the package again and saves the new receipt. A named colleague checks the court’s later response and retains the accepted copies. The lawyer then confirms any required service and client update.
If a second rejection arrives, the same owner escalates it with both notices and both packages. The rejected court filing task remains open until the relevant result has been checked. A second upload does not end the process by itself.
Best practices for reducing repeat rejections
Use each rejected court filing notice to improve the firm’s checks. Group findings by document issue, portal entry, package issue, fee question, and unresolved process question. These are suggested review categories, not claims about which errors are most common.
Improve the point where the error began
If attachments are often omitted, check how the team builds and approves packages. If case numbers differ, check where staff copies them from. A repeatedly rejected court filing may reveal a weak handoff rather than a need for another generic reminder.
Test the workflow on a sample matter. Ask a colleague to find the first submission, rejection reason, approved correction, new receipt, and accepted copy. Note where the record is hard to follow and fix that gap.
Track resolution without overstating success
Record open rejection items, overdue checks, repeated reasons, and time spent waiting for a decision. Use the findings to improve training and task ownership. Keep the review record within the firm’s approved access and retention process.
Do not report a rejected court filing as resolved because the provider accepted the upload or the fee was paid. Define the evidence needed to close each task. Where part of the work remains uncertain, report that limit plainly.
Common mistakes to avoid
Fixing only the first reason can lead to another failed attempt. Review the whole notice and match every issue to a checked correction.
Treating a filing-provider ticket as a deadline extension can leave the team without a legal decision. Give time-sensitive questions a lawyer and a backup route.
Replacing the original files destroys a useful comparison. Keep the earlier package and make the correction in a separate working copy.
Sending the whole package again without checking accepted items can create duplicates. Confirm the item-level result and required route first.
Closing the task at resubmission leaves acceptance unowned. Assign the next check before sending and keep the result in the matter.

Frequently Asked Questions
Does a rejected court filing give us more time?
Do not assume it does. Ask the lawyer to review the deadline, notice, governing rules, and any available relief. The result depends on the court and facts. A support message or corrected upload does not itself establish an extension.
Must we resubmit the entire package?
Check the court’s instructions and which items were rejected. Some processes require the complete package; other situations need a different step. Keep accepted items and avoid duplicates while following the required route.
Can a clerk fix a rejected court filing?
A clerk can perform assigned corrections within their role. The lawyer should decide questions about deadlines, substantive changes, service, and relief. Make the scope of the clerk’s task and the required review clear.
Should we change the date on the document?
Distinguish the filename, submission date, signature date, and any court endorsement. Each describes a different event. Follow the court’s instructions and preserve the actual dates. Do not change a sworn or signed statement merely to match a new upload date.
What if the portal says submitted but no court response arrives?
Check the published review process, portal status, and notification settings. Contact the correct support or court office when needed. Keep a lawyer involved if timing is at risk, and record who will check again.
What if the document was accepted but the court later finds a defect?
Read the notice or order and follow the process for a filed document. It may differ from resubmitting a rejected package. Obtain the lawyer’s instructions before making another filing or assuming the earlier one remains effective.
Conclusion
A rejected court filing needs a clear record and a named person responsible for each next step. Read the notice, check the deadline, address the full list of issues, and obtain review before submitting again.
Keep the work open until the court’s result and any related tasks have been checked. Start with one recent matter and make sure another team member can trace the original package through to the final outcome.
Resources
Official sources reviewed on November 3, 2026. The workflow, status labels, and fictional example are editorial suggestions. Each court example is limited to its stated forum and process.
Disclaimer: The content provided on this blog is for informational purposes only and does not constitute legal, financial, or professional advice.